Form Is Not Working
Common reasons why your LeadForm isn't working
We're building an ongoing list of the most common reasons why a LeadForm doesn't load on a site. For immediate assistance, please reach out to support and we'll help you fix any issues right away.
Common Reason 1: URL Issues
The most common reason usually comes down to URL formatting issues.
A target URL should be formatted exactly like this: https://domain.com/*or if your site doesn't use SSL then http://domain.com/*
URL Issues:
- Your URL is not entered into the Target URL section (to add your URL go to "Add to Site > then add your URL into the target URL area)
- Your URL includes the www. (all URLs must be entered without the www.)
- Your URL does not include https:// or http:// (enter your URL as https://domain.com)
- You've entered your URL with https but your site does not use SSL and actually displays as http:
- You did not include the * at the end of your URL (We suggest always including the * so it reads as https://domain.com/*
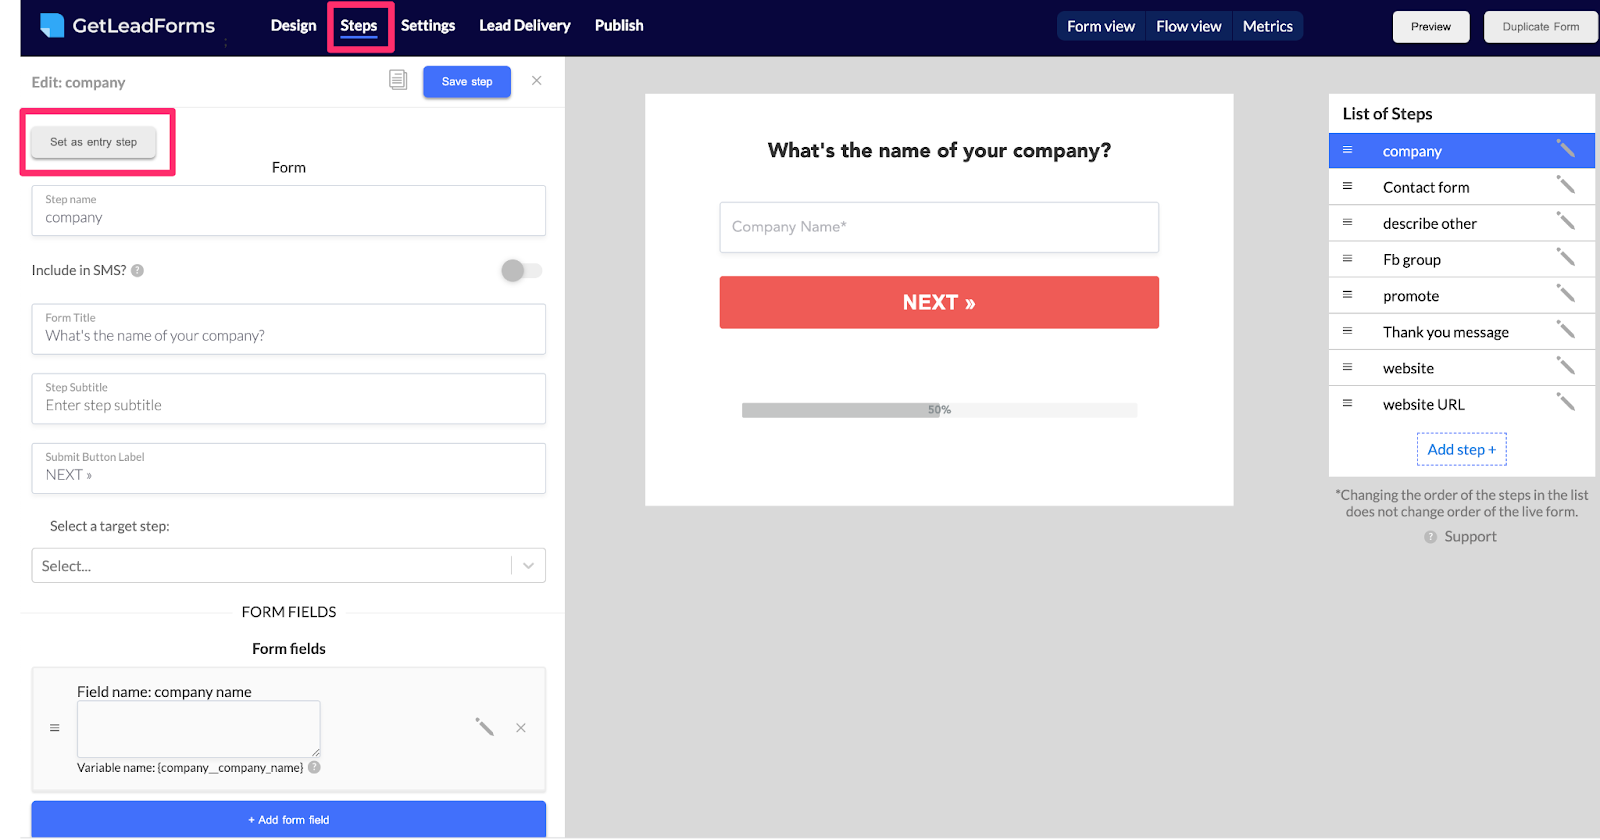
Common Reason 2: You haven’t set an entry step
- You did not set a step as an "entry step" (the very first step in your form must be set as an entry step for your form to work)
Common Reason 3: Your steps aren’t connected
If you go into Flow View, you’ll be able to see how your steps connect to one another. If your steps are not connected, your form will not work.
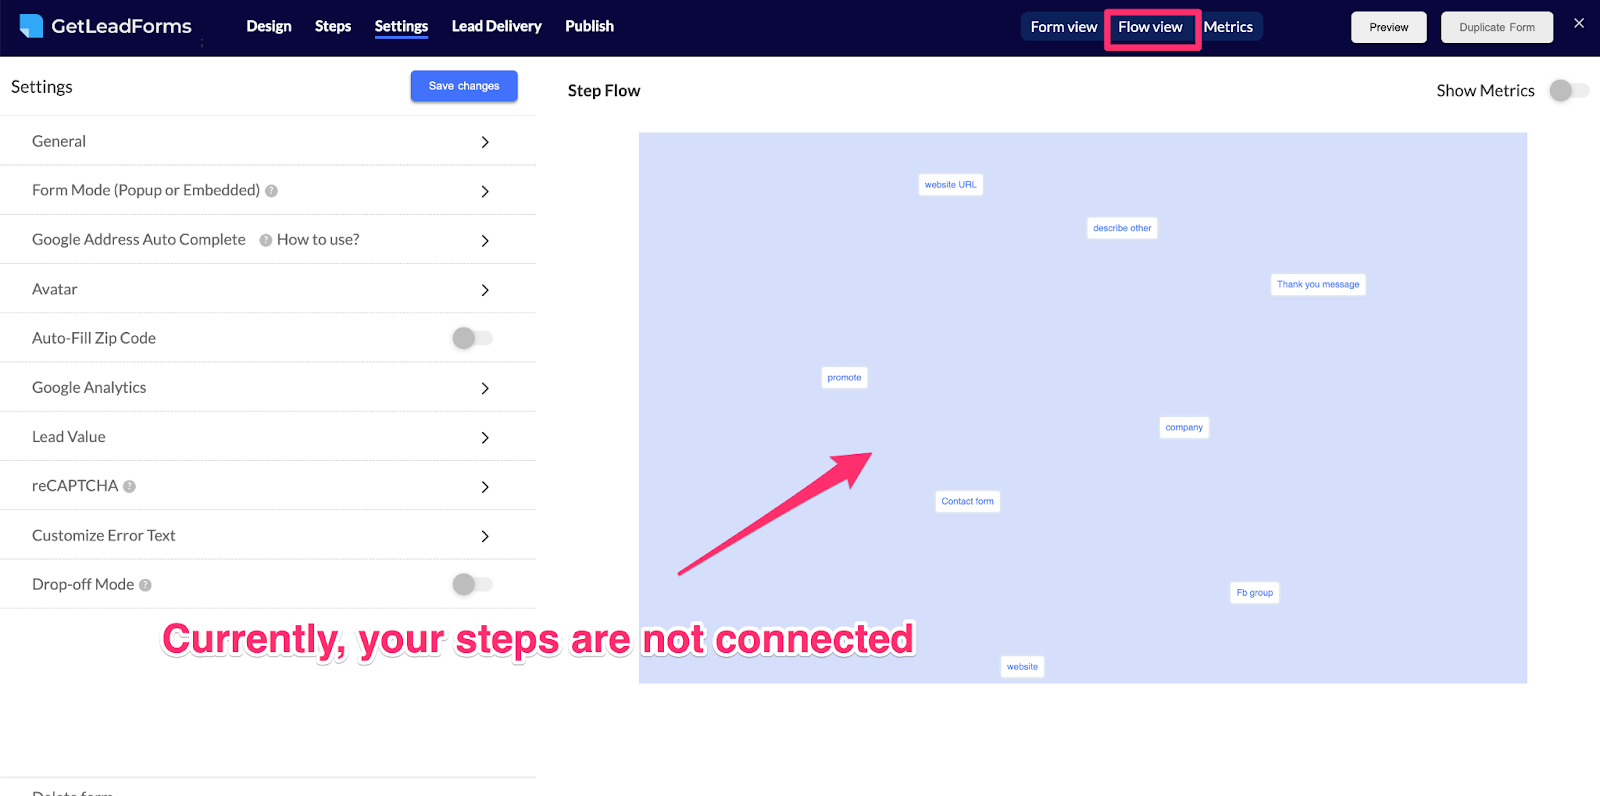
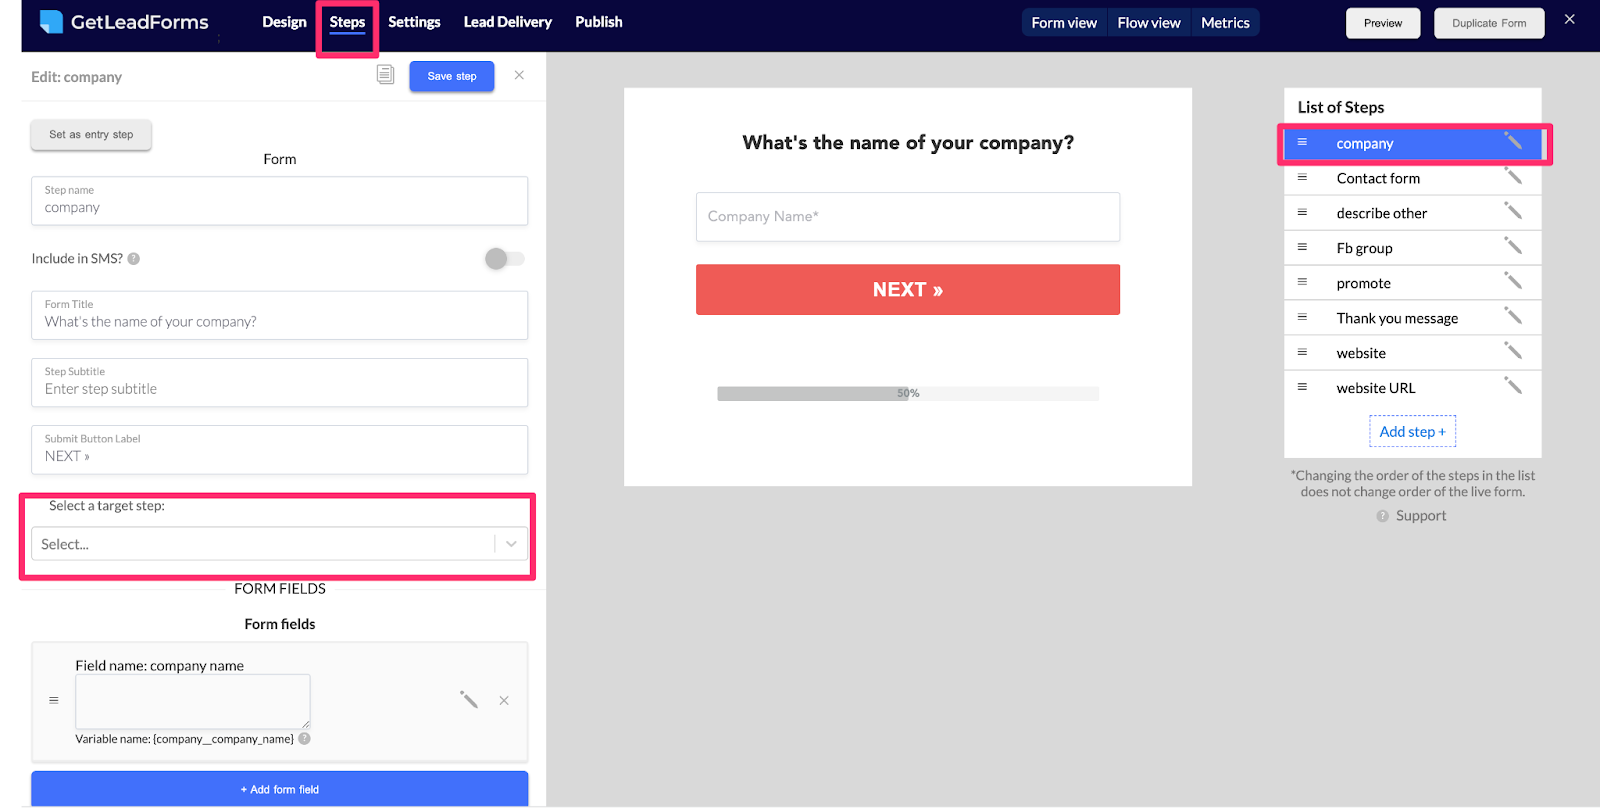
To connect the steps, click on each step, ensure that you are in the steps tab, and then click on Select a target step. The target step is the step that comes right after that particular step.
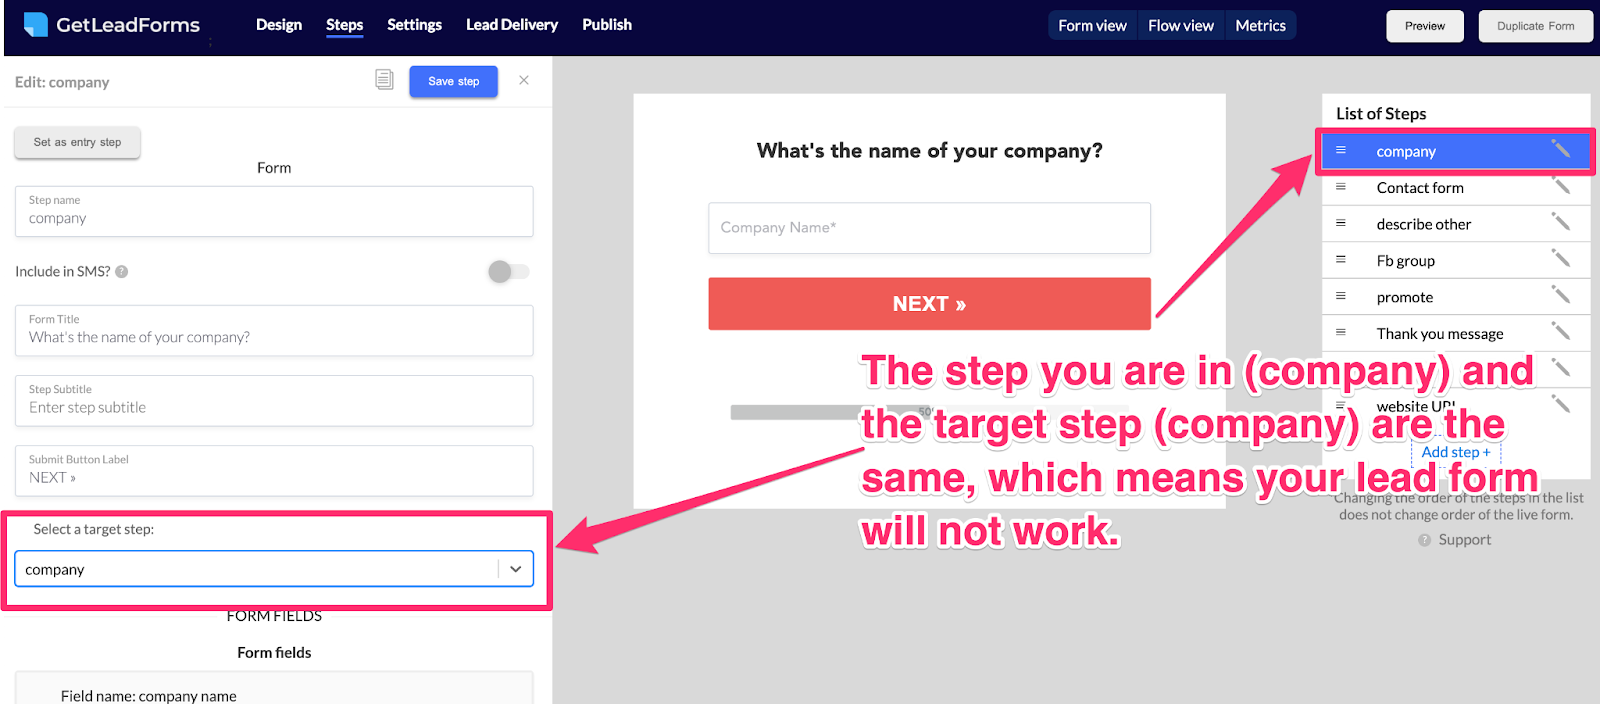
Common Reason 4: One of the steps loops back to the step before or the same step
- You should always check to ensure that a target step is not set as that same step or a step that came before it
Common Reason 5: You don’t have a thank you step (last step) or it is incorrect
- In order for your leadform to work properly, you must have a last step (thank you step) created.
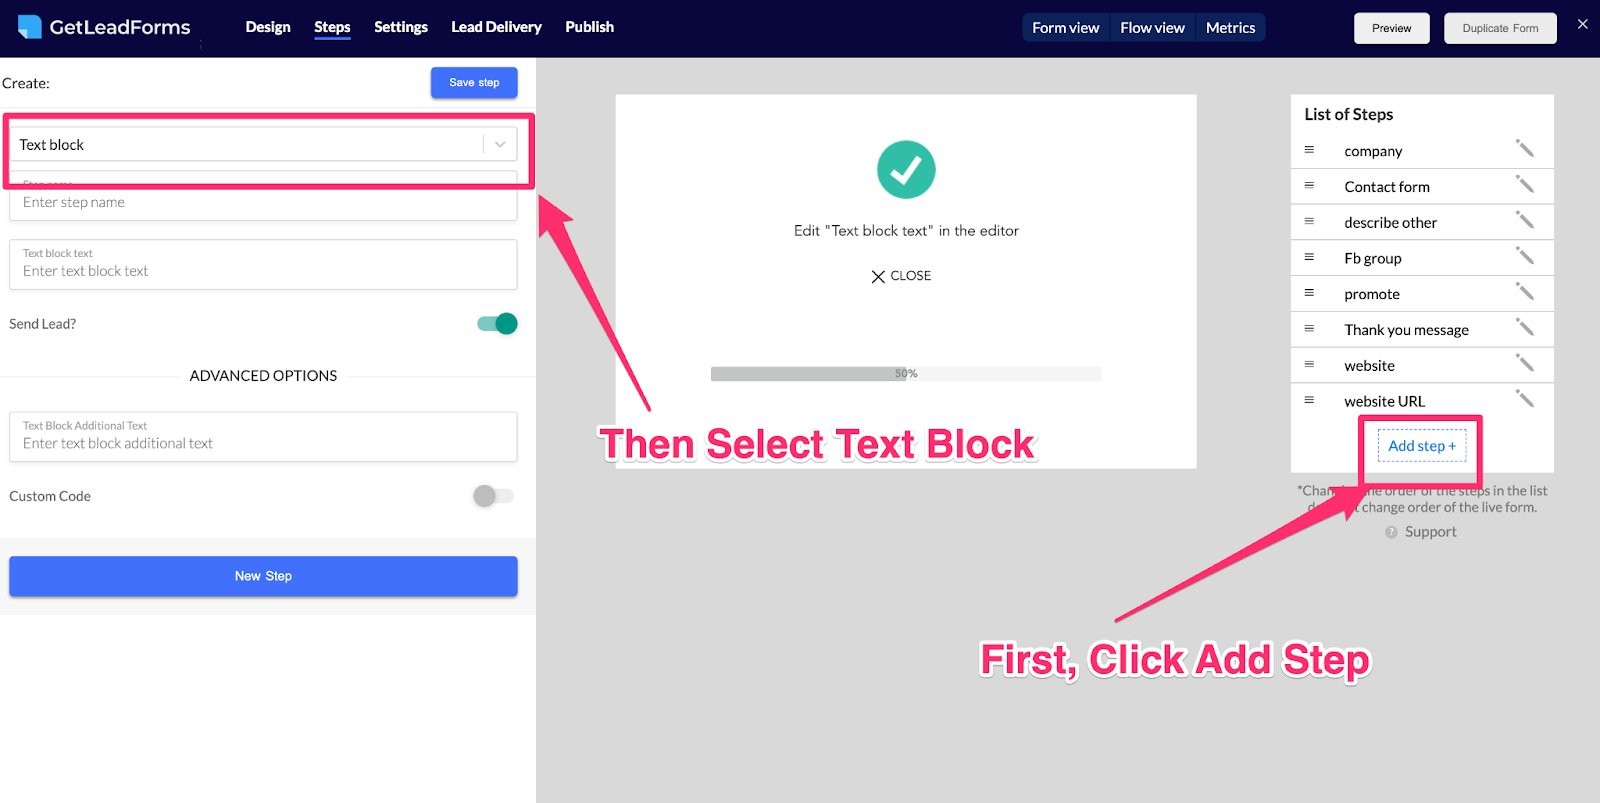
Make sure that your last step (your thank you step) is a 'Text' block step
As a best practice, the last step in your LeadForm - i.e, your thank you step, should always be set as a text block step. This way the system knows to end the form and to send some event data back into your dashboard.
To add a thank you step please follow the instructions:
- Click 'Add new Step'
- On the left hand 'Create' side choose 'text block'
- Add some custom text and click Save.
Advanced:
- Customization: If you do not want the check mark to appear or if you want to customize that thank you step a bit more, simply flip the Custom Code Switch to the 'On' position. This will override our default styling and you can add your own custom HTML and CSS. We can help you with this if you need some help.
- Don't send lead option: With GetLeadForms you can have conditional logic and multiple thank you steps or 'disqualified steps' - it's just a matter of setting a text block step wherever you'd like the LeadForm to end. In the event that your form has a flow where you show the lead a 'disqualified message' and you don't want to send a notification via email or post the lead into your CRM, then simply flip the 'Send lead button' to the off position'
- Redirect to another page: If you would like to redirect the thank you step to another page in your funnel (such as your own thank you page) please visit the documentation here.
Common Reason 6: LeadForms Pixel not installed properly
*Coming soon! If you need assistance with this, please email us at support@getleadforms.com
Common Reason 7: Wrong Form Mode
- If you're using a pop-up form then your Form Mode is set to the wrong setting. For pop-up forms the Form Mode must be set to pop-up
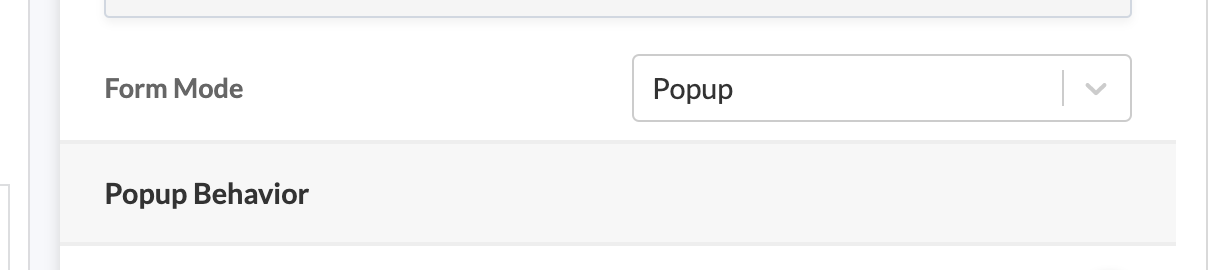
- If you're using an embedded form then your Form Mode is set to pop-up. For embedded forms ensure that your Form Mode is set to Embedded

- If you're using the embedded form and it's not working, ensure that you also added the embed code somewhere on your page.
Here's the embed code:
<code>
<div id="leadforms-embd-form"></div>
Common Reason 8: Pixel Script Added Twice
- Form appearing twice? Ensure that your pixel script is only added to your site once
Common Reason 9: You need to clear your cache
- Sometimes you just need to clear your cache, especially if you're using a WordPress plugin like WPRocket
Common Reason 10: Check your phone field
The most common reasons why the LeadForm is not submitting is because of an issue with a phone field.
When using the phone fieldwithout our SMS OTP Text Verification feature activated in your account, then you will always want to have the phone field options set as the following:
- Field Type: Phone
- Value Type: Text
If you select the Value type as 'Phone' (meaning that both field type and value type are set to 'Phone') then the form will not submit if our SMS OTP Verification feature is not enabled in your account.

The phone value type should only be used when using our SMS OTP phone verification field. In the near future, we will update the name of this Value Type to say 'Phone - OTP Only ' to make it more clear.
On the other hand, if you're using the SMS OTP phone verification feature, then you should set the value type to 'Phone' - you can read the documentation here.
Side note: To help prevent this from happening the system will display an error message and prevent you from adding the Phone value type in the event that you try to set the value type to 'Phone' when the OTP phone verification feature is disabled.
---
If you're still having issues submitting your LeadForm, please reach out to us at support.
Thank you